GuidesHow-to6 min read
Rig and animate a 3D character in Godot 4: The AFK AI add-on, AnimationPlayer and AnimationTree
Click a model in the FileSystem dock, click Rig, and about a minute later a rigged GLB with its animations is next to it, the walks and idles already looping.
 AFK AI (dock)
Signed in as you@example.comSign out
3 of 3 rigs left this month.
Model: hero.glb
Body typeHuman
AnimationsAll animations
FacingAuto
RigRigging...Cancel
Scene › hero_rigged- hero_riggedNode3D
- └Skeleton3DSkeleton3D
- └HeroMeshInstance3D
- └AnimationPlayerAnimationPlayer
- └Idle_Aloop ⟳
- └Walkloop ⟳
- └Jogloop ⟳
- └Sprintloop ⟳
- └…
Godot is great at playing animations and has no way to make a rig. So a character usually takes a round trip: export it, rig it in Blender (or Mixamo, for humanoids only), find animations, export a GLB, and set every looping animation to loop again after import.
The AFK AI add-on does the round trip from a dock in the Godot editor. Click your model in the FileSystem dock, then Rig. About a minute later hero_rigged.glb is saved next to hero.glb, with a skeleton made for its body, skin weights and its animations in an AnimationPlayer. The idles, walks and runs are already set to loop.
What you need
- Godot
- 4.2 or newer, the standard build or the .NET one.
- Your model
- A
.glb,.gltfor.fbxin your project, up to 50 MB. A.gltfmust have everything in the one file; if yours has a.binbeside it, export a.glbinstead. - An afk.ai account
- Free, with Google. Each rig uses one of your account's rigs for the month, the same as on afk.ai/rig.
- Internet
- The rigging runs on afk.ai's servers. Only the model file you pick is sent.
Install the add-on
- Download the add-on from the Godot plugin page.
- Copy its
addons/afk_aifolder into your project'saddonsfolder. Make theaddonsfolder if your project doesn't have one. - Open Project > Project Settings > Plugins and tick Enable next to AFK AI.
An AFK AI dock appears on the right, next to the Inspector.
Rig a model
- Sign in. Click Sign in in the AFK AI dock. Your browser opens afk.ai; sign in with Google there. The dock shows your email and how many rigs you have left this month. If the browser can't get back to Godot, it shows a sign-in code instead: paste it under I have a sign-in code and click Use.
- Pick the model. In the FileSystem dock, click the model's file.
- Choose the options. Body type: Human for people and anything on two legs, or the animal or creature it is. Animations: All animations, or Rig only for just the skeleton. Facing: leave it on Auto.
- Click Rig. The dock shows what's happening: uploading, waiting, rigging, downloading. Keep working meanwhile.
When it's done, hero_rigged.glb is saved next to hero.glb, imported and selected. The original isn't touched. Rig the same model again and you get hero_rigged_2.glb, so nothing is overwritten.
What's in the rigged GLB
Drag hero_rigged.glb into a scene to use it: it comes in as one node with everything under it.
- Skeleton3D
- A skeleton made for the body type, with your mesh skinned to it. A human gets 66 bones, every finger included, named pelvis, spine_01, hand_r, foot_l and so on.
- AnimationPlayer
- Every animation, under its own name. For a humanoid, up to 593: Idle_A, Walk, Jog, Sprint, Jump_Start, Sword_Attack, Dance_Groove and hundreds more. A free account gets the free ones, and a plan adds the rest.
- Loops
- Idles, walks, runs, flying and swimming loop already. The add-on writes that into the file's import settings before Godot imports it.
- Facing
- The character faces +Z, as glTF models do.
Play animations with an AnimationPlayer
The simplest player character: a CharacterBody3D with a CollisionShape3D (a capsule), and the rigged model dragged in under it and renamed Hero. Attach this script to the CharacterBody3D:
extends CharacterBody3D

const SPEED := 4.0
var gravity: float = ProjectSettings.get_setting("physics/3d/default_gravity")

@onready var hero: Node3D = $Hero
@onready var anim: AnimationPlayer = $Hero/AnimationPlayer

func _physics_process(delta: float) -> void:
	var input := Input.get_vector("ui_left", "ui_right", "ui_up", "ui_down")
	var direction := Vector3(input.x, 0.0, input.y)
	velocity.x = direction.x * SPEED
	velocity.z = direction.z * SPEED
	if not is_on_floor():
		velocity.y -= gravity * delta
	move_and_slide()

	if direction.length() > 0.1:
		# the model faces +Z: turn that toward where it's going
		hero.rotation.y = lerp_angle(hero.rotation.y, atan2(direction.x, direction.z), 10.0 * delta)
		anim.play("Jog", 0.2)   # 0.2 s blend from whatever was playing
	else:
		anim.play("Idle_A", 0.2)
Run it and the arrow keys jog the character around, easing back to idle when you let go. Calling play with the animation that's already playing carries on with it, so calling it every frame is fine.
Blend them with an AnimationTree
An AnimationTree blends between animations by speed and handles one-off moves like an attack. Set it up once in the editor:
- Add an AnimationTree node to the character. In the Inspector, set Anim Player to
Hero/AnimationPlayerand Tree Root to a new AnimationNodeStateMachine. - In the AnimationTree panel at the bottom, right-click and add a BlendSpace1D. Name it
Locomotion, open it, and add three points: Idle_A at 0, Walk at 1.5 and Jog at 4 (set its Max Space to 4). - Right-click again and add the Sword_Attack animation. Connect Start to Locomotion, Locomotion to Sword_Attack, and Sword_Attack back to Locomotion with Switch Mode set to At End and Advance Mode to Auto.
- In Project > Project Settings > Input Map, add an action called
attackand give it a key.
Then, in the same script, drop the two anim.play lines and drive the tree instead:
@onready var tree: AnimationTree = $AnimationTree
@onready var playback: AnimationNodeStateMachinePlayback = tree.get("parameters/playback")

func _process(_delta: float) -> void:
	tree.set("parameters/Locomotion/blend_position", Vector2(velocity.x, velocity.z).length())
	if Input.is_action_just_pressed("attack"):
		playback.travel("Sword_Attack")
While the AnimationTree is active, it's what plays the animations, so don't call the AnimationPlayer's play as well.
Hold a sword, change a loop
To put something in the character's hand, select its Skeleton3D, add a BoneAttachment3D under it, set Bone Name to hand_r, and put the sword under the attachment. It follows the hand through every animation.
To change which animations loop, double-click hero_rigged.glb in the FileSystem dock to open Advanced Import Settings. Pick the animation under the AnimationPlayer on the left, change Loop Mode, and click Reimport.
Animals, creatures and props
Pick the body type in the dock before you click Rig: Fox for dogs, cats and wolves, Horse for anything hoofed, Bird, Dragon, Kaiju for dinosaurs, Spider, Insect, Snake, Fish, Kangaroo, Frog, Turtle, Ghost, or Object for props. Each gets a skeleton made for its body and animations made for it: gallops, flaps, roars, swims, slithers. They play the same way, with the same AnimationPlayer and AnimationTree. Every model rigged as the same body type has the same bone and animation names, so one wolf's AnimationTree works for every wolf. The animal guide lists each type's animations.
- Dragon
- Four-legged
- Hoofed
- Dinosaur
- Spider
- Fish
What counts as a rig
Every rig that reaches AFK AI uses one of this month's rigs, the same as on afk.ai/rig and in the other AFK AI plugins. Cancel stops the waiting, not the rig, which still counts. A rig that fails isn't counted. When you're out of rigs, the dock says so and shows See plans, which opens afk.ai's plans.
Questions
Does Godot have an auto-rigger built in?
No. Godot imports skeletons and animations that already exist, and its retargeting maps one humanoid skeleton onto another, but it doesn't rig a mesh. The AFK AI add-on does that part, and hands Godot an ordinary GLB.
Does it work in Godot 3?
No. It needs Godot 4.2 or newer. With Godot 3, rig the model on afk.ai/rig and import the GLB it downloads.
Can I use it in a C# project?
Yes. The add-on is GDScript, which the .NET build of Godot runs too, and the rigged GLB is the same either way. In C#, play an animation with GetNode<AnimationPlayer>("Hero/AnimationPlayer").Play("Jog", 0.2);.
Why a GLB and not an FBX?
GLB is the format Godot imports best: the skeleton, skin weights and every animation come through as they are, in every Godot 4 version. Your original can be an FBX; what comes back is a GLB.
Does the add-on end up in my exported game?
What your game uses is the rigged GLB. The add-on itself only does anything in the editor; to leave its files out of an export, exclude addons/afk_ai/* in the export preset's Resources tab.
Can I rig several models at once?
One at a time, about a minute each. To rig a whole folder from a script, use the rigging API: it writes the same GLB.
Can I use the rigged characters in a commercial game?
Yes. The skeletons and animations are CC0, and your model stays yours.
Is there an AFK AI plugin for Blender, Unity or Unreal too?
Yes. See the guides for Blender, Unity and Unreal Engine, and the overview of every AFK AI plugin for all nine apps.
Rig and animate your model
An AI rigs it in your browser, then hundreds of animations play on it. Download one GLB for any engine.
More guides
How-to
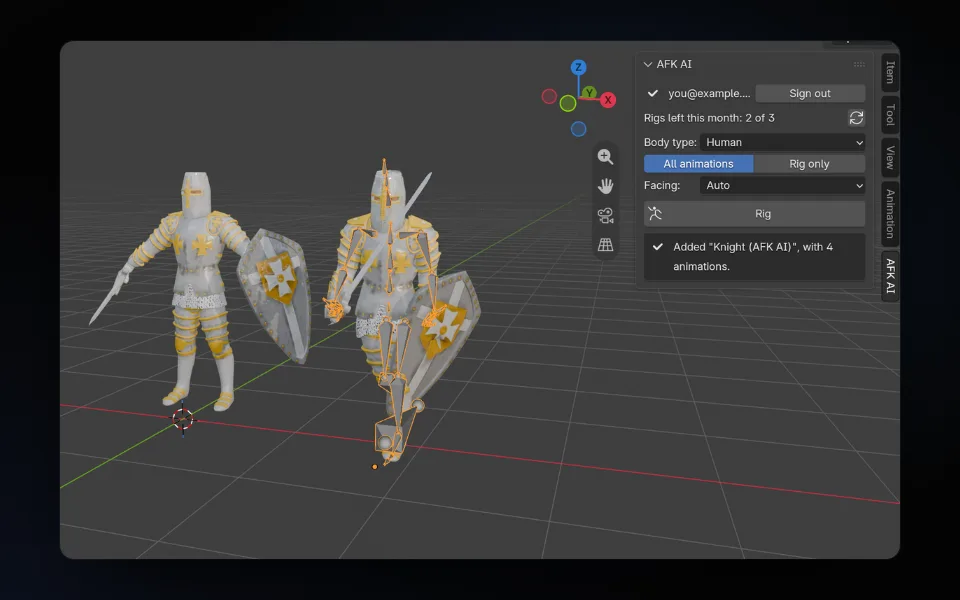
Auto-rig a character in Blender: the free AFK AI add-on
Select your model, click Rig, and about a minute later a rigged copy with its animations stands next to it, in Blender 4.2 and newer.
How-to
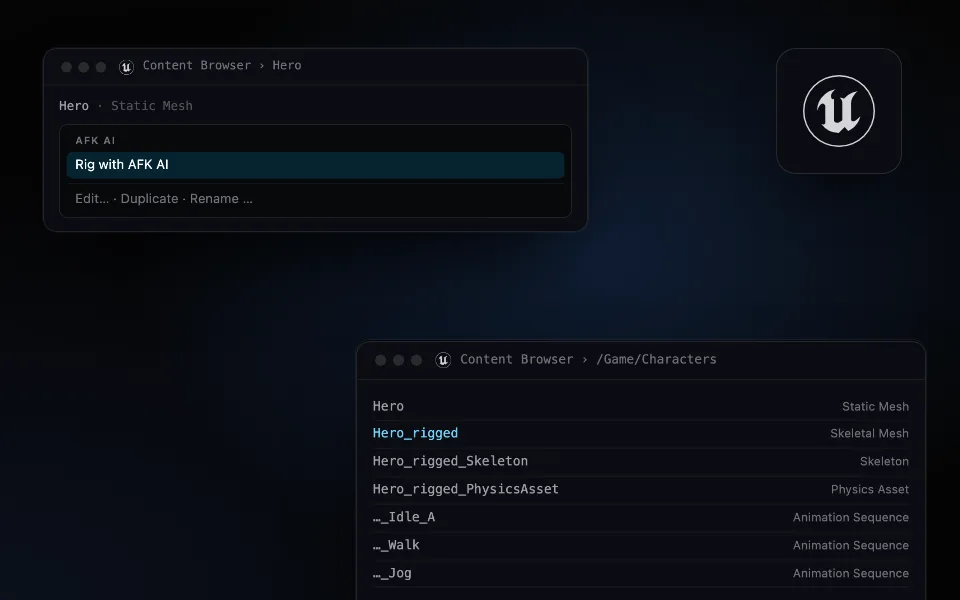
Auto-rig a character in Unreal Engine 5: from a static mesh to an animated skeletal mesh
Right-click a mesh, choose Rig with AFK AI, and a minute later a skeletal mesh with its skeleton, physics asset and animations is in the same folder.
How-to
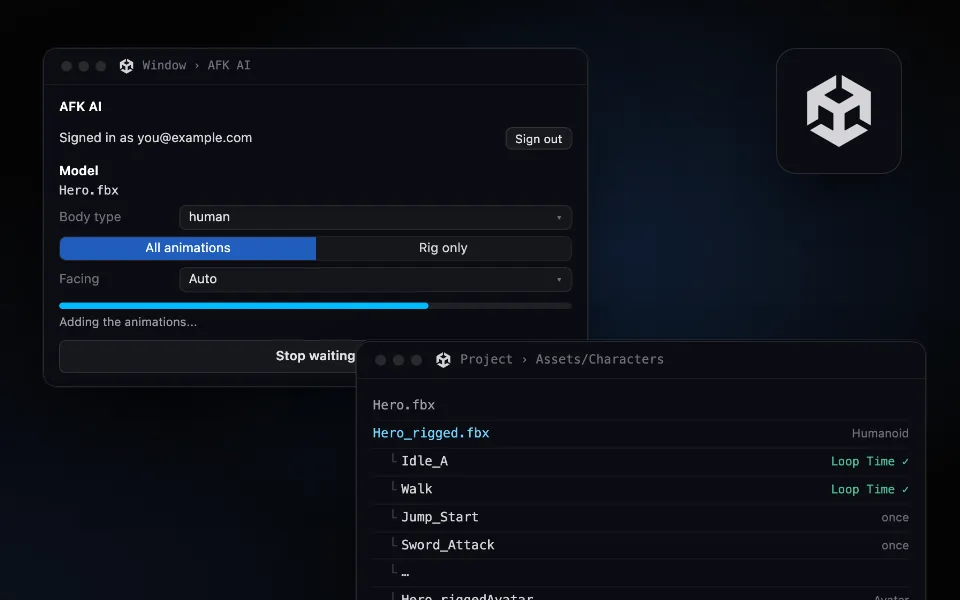
Auto-rig any 3D model inside Unity: Humanoid-ready, with its animation clips
Pick a model in the Project window and click Rig. A minute later a rigged FBX sits next to it, set up as Humanoid, with every animation as a clip.